
How to Build and Maintain
Your Moss Art
Step by Step

Kit Contents:
Your kit includes the following items:
-
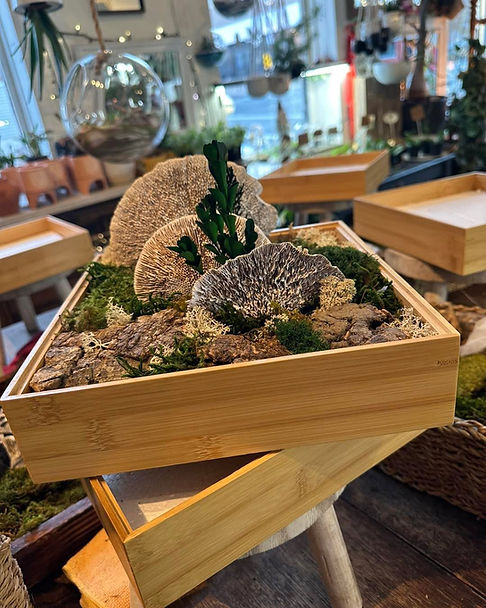
One white shadow box wooden frame (8x8" with 2" depth)
-
Moss: 6x6" rock moss (light green), 6x6" fern moss, 6x6" long moss, and two ball mosses (2-3" each)
-
Decor: Two preserved green tree bracket mushrooms (5-6" each), three small acorns (1" each), and two pieces of driftwood and cork bark
-
Accent Moss: One bunch of dark green reindeer moss and one bunch of bright green reindeer moss
You will need:
In addition to the kit components, you will need wood glue and plastic gloves
Assembly Instructions
-
Organize your materials: Pull all the mosses and decorative items out of the kit and lay them out on a clean workspace. Set up your shadow box frame nearby.
-
Design your arrangement: Place the preserved mosses and decor inside the frame without glue until you are happy with the design. You can use as much or as little of the provided decor as you like.
-
Glue the pieces in place: Once satisfied with your design, pick up each piece one at a time and apply wood glue to the back.
-
Secure the items: Press each glued piece firmly onto the styrofoam inside the frame to ensure it adheres correctly.
-
Allow to dry: Leave the finished project flat for 24 hours before hanging it up.


Enjoy Your Moss Art!
Care and Maintenance
-
No maintenance required: The preserved moss wall art requires no care, such as watering or light.
-
Placement: Do not place the finished art in a sunny location or next to a heat source, as this may damage the preserved materials.